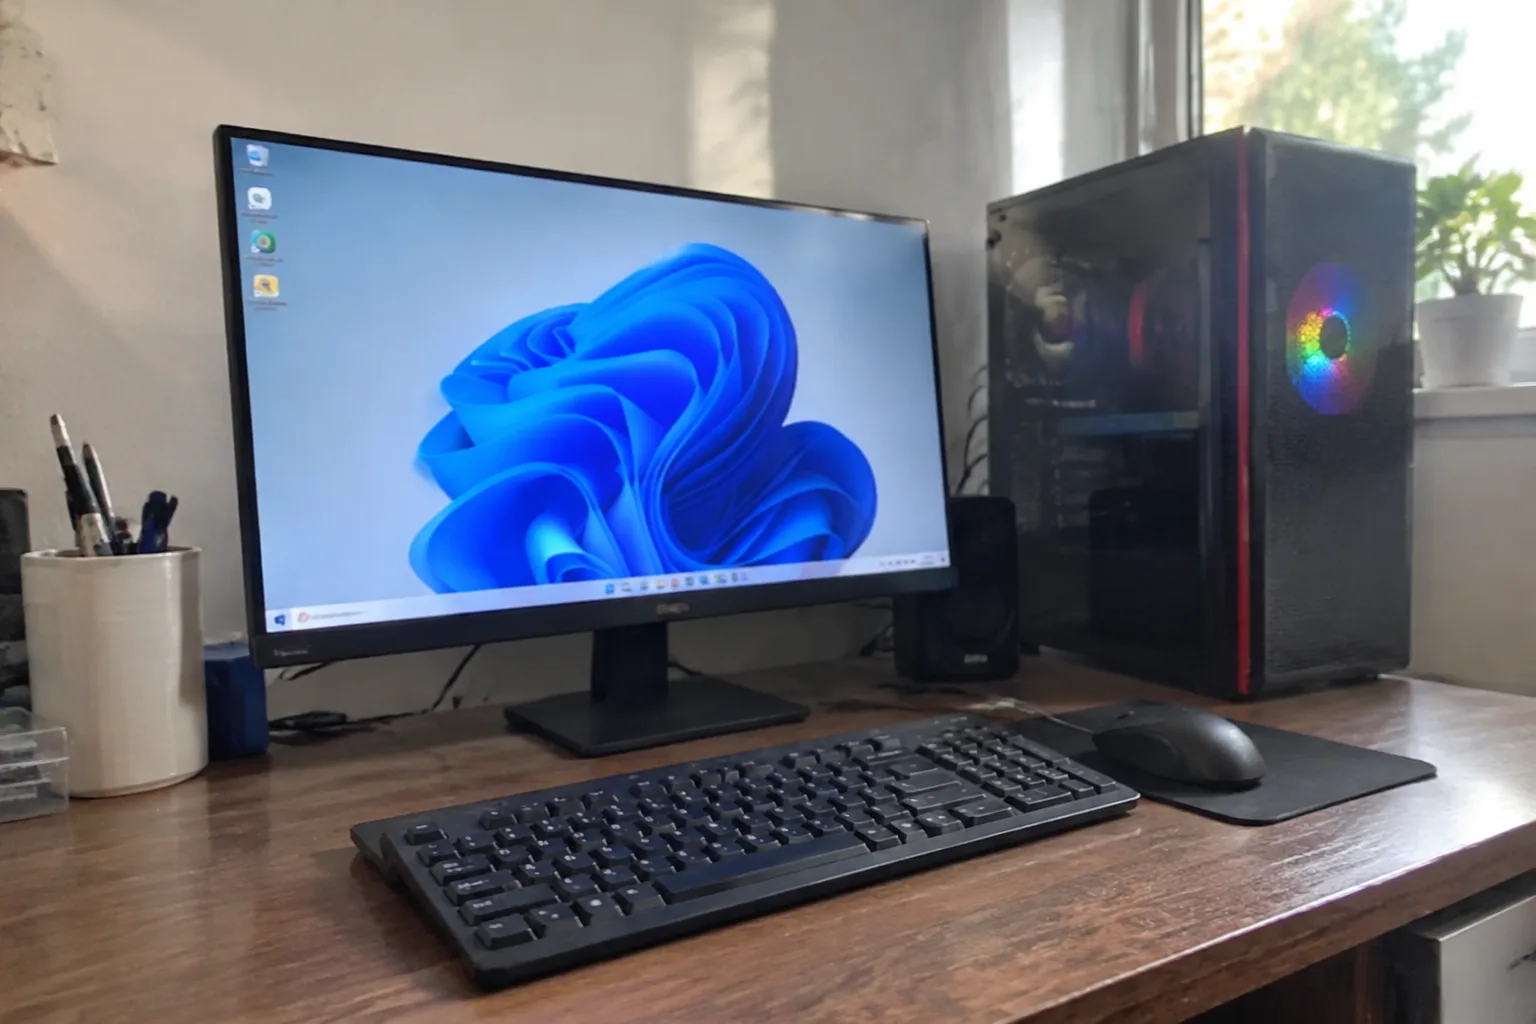
The cardboard comes off and the machine looks smaller than it did in the listing photos. It sits there on the desk, black and inert, fan ports gathering the room's dust. The box of cables is still on the floor. Somewhere in the next hour, this object has to become a working computer, and the gap between those two states is where most people get stuck, or worse, get it running badly and live with the results for years.
A first-run setup for a new desktop PC is a sequence with a correct order, and the order matters more than any single step. Get it wrong and the machine boots into a cluttered, half-configured state that takes an afternoon to untangle. Get it right and the whole thing is done in about ninety minutes, most of which is waiting.
Unboxing on a hard floor, not carpet
Static is the quiet enemy here. Carpet in a dry room holds a charge, and the components inside the case are sensitive to it. A hard floor, shoes off, and touching the bare metal of the case before handling anything is the crude but effective version of grounding. A wrist strap costs less than a sandwich and removes the guesswork.
Pull everything out of the box first. Every cable, every bag of screws, the little foam inserts. The manual is usually a folded sheet with a QR code, and the QR code leads to a page that explains which ports are which. That page is worth two minutes. The rear I/O panel on a modern desktop has a dozen ports, several of which look nearly identical and are not interchangeable.
The monitor cable goes to the graphics card, not the motherboard, on any machine with a discrete GPU. This single mistake accounts for an enormous share of the "my new PC won't display anything" complaints on forums. The motherboard ports sit vertically near the top, the GPU ports horizontal lower down. If the monitor stays dark, check this first.
The order of connections before the power button
Peripherals first, power last. Keyboard and mouse into USB, ideally the rear ports rather than the front panel, because front-panel wiring on budget cases is flimsy and a keyboard that disconnects mid-session is a maddening thing to diagnose. The monitor gets its video cable and its own power cable. Ethernet goes in now if the machine will sit near a router; Wi-Fi can wait until the OS is up.
Then the power cable, firmly seated at both ends. The switch on the back of the power supply, if there is one, needs to be flipped to the line position. This tiny rocker switch has embarrassed more people than any other part of a desktop.
Press the power button and watch the fans. They should spin, the case lighting should come on, and within ten or fifteen seconds the monitor should show a logo. If the fans spin but nothing displays, power down, reseat the video cable, and confirm the monitor is set to the right input.
The BIOS screen nobody reads
On first boot, most machines flash a message about pressing a key to enter setup. This is the BIOS or UEFI, the firmware layer that sits between the hardware and the operating system. It is worth spending three minutes there, even though it looks like a spreadsheet from 1998.
Two settings matter. First, confirm the boot drive is detected. If the storage list is empty, the drive is not seated or not connected, and no amount of OS installation will fix that. Second, check whether memory is running at its rated speed. Many boards ship with memory at a conservative default, and a single toggle called XMP or EXPO brings it up to the speed printed on the sticks. Enabling it is the easiest performance gain available on a new machine.
Everything else in the BIOS can be left alone. The fan curves, the voltage settings, the mysterious submenus with names like "Advanced Chipset Configuration": leave them. A new machine does not need tuning. It needs to boot.
Installing the operating system from a USB stick
A new desktop almost never ships with an operating system preinstalled unless it was bought as a prebuilt. For a self-built machine, the OS comes on a USB stick prepared on another computer, using the official media creation tool from Microsoft or the equivalent for Linux distributions. An 8 GB stick is plenty.
Plug the stick in before powering on, then select it from the boot menu, usually by tapping F8, F11, or F12 during startup depending on the motherboard brand. The installer walks through language, keyboard layout, and disk selection. On a fresh drive, the "custom install" option is the right one, and the drive should be wiped clean before partitioning. There is nothing on it to preserve.
The install itself takes fifteen to twenty minutes and involves a lot of staring at a progress percentage. When it finishes, the machine reboots into the desktop, and the real work begins. The first thing to do is not open a browser. The first thing is to install the drivers.
Drivers before anything else, especially the network
A fresh Windows install runs on generic drivers that make the machine functional but slow. The graphics card may output a low resolution. The network adapter may not work at all, which creates a chicken-and-egg problem: no internet to download the driver that makes the internet work.
The fix is to download the motherboard's network driver on another machine beforehand and carry it over on the same USB stick. Every motherboard manufacturer has a support page for each model, with a list of drivers for LAN, Wi-Fi, audio, and chipset. Grab those first. Once the network is live, the graphics driver comes from the GPU maker's site, and it is the single most important download on a new machine. A gaming PC running on a generic display driver performs like a much older computer.
Windows Update runs afterward and fills in the rest. It will take a while and may reboot several times. Let it finish before installing anything else, because half-installed updates layered under new software cause problems that are genuinely difficult to trace.
Removing the preinstalled clutter
A prebuilt machine arrives with a layer of manufacturer software: trial antivirus, update utilities, a "control center" for lighting, and a handful of promotional apps. Some of it is genuinely useful, particularly the lighting and fan control tools. Most of it is not, and the trial antivirus is actively harmful, since it competes with the built-in protection and nags about subscribing.
The list of installed programs is the place to start. Remove anything with "trial" in the name, anything that came bundled with a subscription offer, and any duplicate utility that does the same job as a Windows built-in. Keep the motherboard vendor's control software if the case lighting depends on it. Keep the GPU vendor's control panel. Everything else is negotiable.
This cleanup takes ten minutes and prevents months of pop-ups. It is also the step most people skip, because the machine "works" and the urgency fades. The clutter accumulates quietly until the machine feels slow for no visible reason.
A folder structure that survives the first year
Before installing a single application, create four folders on the main drive: Programs, Documents, Media, and Archive. Point the default download location at a Downloads folder inside Documents. This small act of organization pays off in month eight, when the desktop is covered in installers and the drive is a flat mess of unidentified files.
The default locations for documents, pictures, and videos can be redirected to a secondary drive if the machine has one, which keeps the operating system drive lean and makes backups simpler. On a single-drive machine, keep everything on the one drive but stay disciplined about where things go.
Backups set up on day one, not day ninety
The most useful hour spent on a new desktop is the one that configures a backup before there is anything worth backing up. A second drive, internal or external, plus the built-in Windows backup tool or a free alternative, covers the common failure: a drive that dies without warning and takes years of files with it.
A backup that has never been tested is a hopeful gesture. After the first scheduled run, restore a single unimportant file from the backup to confirm it works. That test takes two minutes and converts the backup from theory into something real.
The cable management that prevents a return trip
Before the machine is pushed against the wall, route the cables. Power cables along one side, video and USB along the other, bundled with velcro ties rather than zip ties, because zip ties have to be cut when a cable needs to move. A few minutes of routing now saves a frustrating crawl behind the desk later, when a monitor cable works loose and the whole machine appears dead.
Leave slack at both ends. A cable pulled taut against a connector puts stress on the port, and a strained port on a motherboard is a repair, not an adjustment. The rear of the case should look deliberate, not tidy for its own sake but organized enough that any single cable can be traced and replaced without dismantling the whole bundle.
The machine is now a computer rather than a box. The fans hum at a low, steady note, the desktop is clean, the backup runs on schedule, and the cable bundle behind the desk holds its shape. The next time the case comes off, it will be for an upgrade rather than a rescue.